15 Nov Savory Cheese Popovers
Popovers are dramatic and impressive. Their crisped exterior and elegant pockets of air on the inside make them an ideal platform for presenting cheese. ...

Popovers are dramatic and impressive. Their crisped exterior and elegant pockets of air on the inside make them an ideal platform for presenting cheese. ...
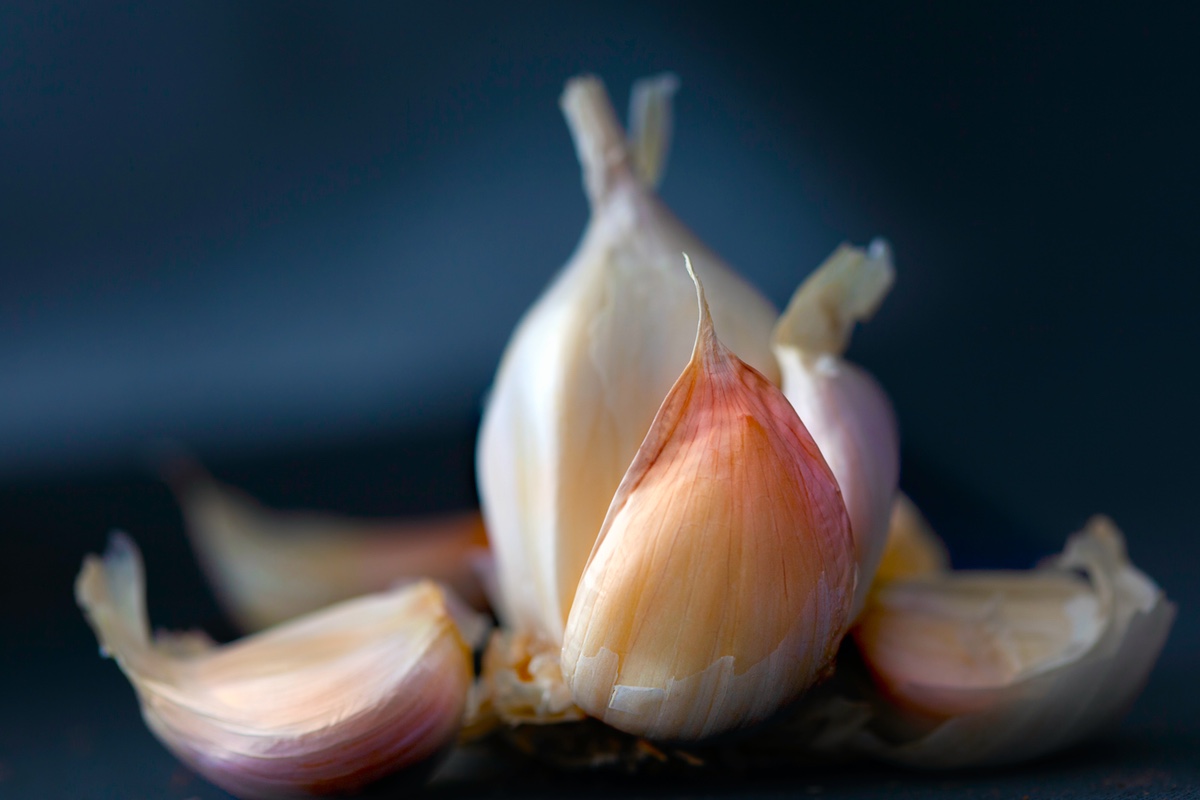
Tantalize your taste buds with this richly spiced hummus spread. Roasting large amounts of garlic helps to impart a sweet smooth flavor (and it keeps well for other uses, make extra so you can always have some on hand). A perfect complement for any summer party or to take along...
Freshly made Lobster Bisque is a delicious start to any summer meal. This rich and creamy version can be made in minutes using succulent lobster tails....
This recipe offers a lovely combination of texture and color, perfect for a first course. Look for smooth, hard, round beets; a healthy deep red color is an indicator of quality....
Here we capture two distinct but complementary summer flavors & textures and wrap them together in a spicy, sweet fruit syrup. ...

Ceviche is more of a method than a recipe, in which the acid of lemons and limes is used to "cook" seafood. Like many classic preparations of the world, there are as many ways to make ceviche as there are cooks to prepare it; what is paramount is the choice...